How To Treat Shell Rot At Home? – Know How
Shell rot, often referred to as “turtle shell rot,” is a common condition that affects turtles and other shelled reptiles. It’s an infectious disease primarily caused by bacterial or fungal agents. Just like humans are vulnerable to skin infections, turtles can develop infections on their shells, which serve as their primary protective barrier.
Why is Timely Treatment Essential?
If left untreated, shell rot can progress from mere surface discoloration to deep, painful lesions, compromising the overall health of your pet turtle. Early detection and prompt action can make all the difference in preventing severe complications and ensuring your turtle lives a healthy, happy life.
Your Guide to Treating Shell Rot:
Whether you’re a new turtle parent or a seasoned reptile enthusiast, it’s vital to understand how to address shell rot effectively at home. In this guide, we’ll walk you through the steps to identify, treat, and prevent this common yet concerning condition.
Recognizing the Signs of Shell Rot
Physical Changes to Watch For
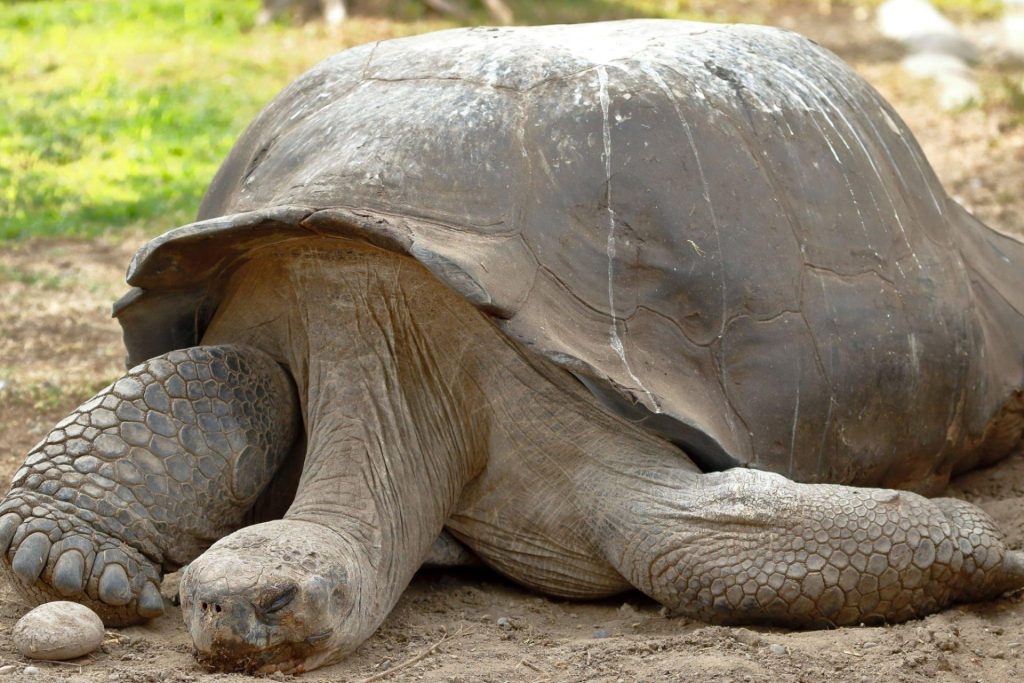
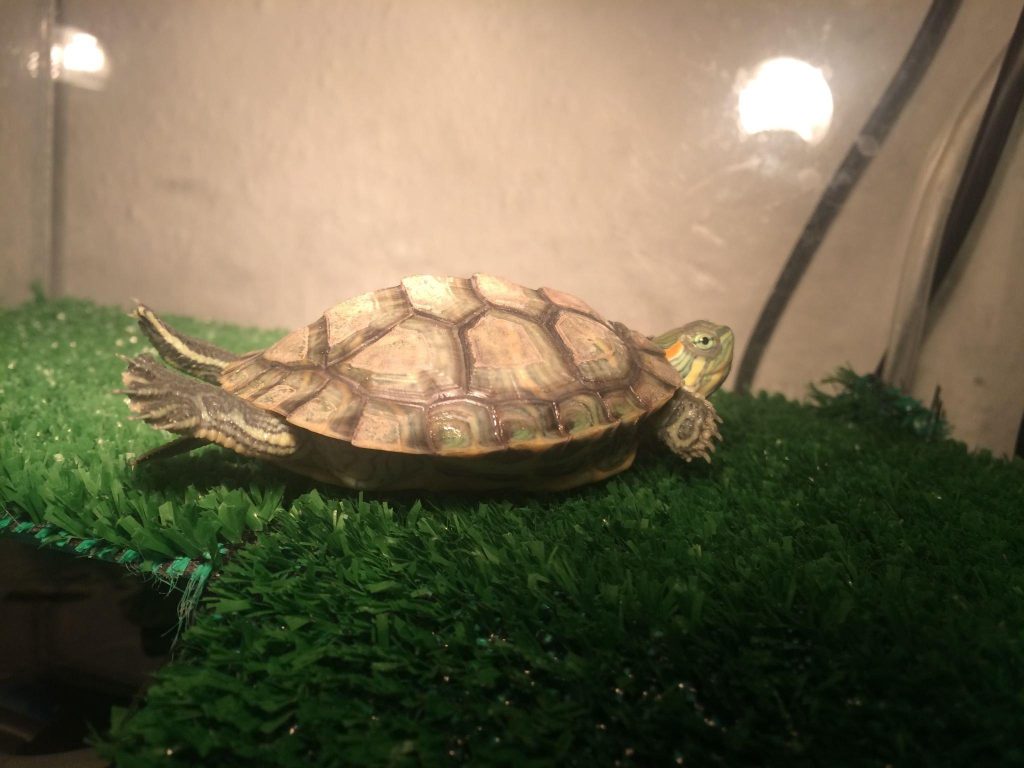
Shell rot can manifest in several noticeable ways on your turtle’s protective covering. Discoloration is often the first sign; what was once a vibrant, healthy shell may start appearing dull, stained, or even sport white, gray, or reddish patches. Additionally, you might notice soft spots emerging, which feel different from the typically hard surface. In more advanced stages, the shell may exhibit flaking, pitting, or develop visible cracks.
Behavioral Changes Indicating Discomfort
While physical signs are the most obvious indicators of shell rot, behavioral shifts can also hint at underlying issues. Turtles suffering from shell rot might become lethargic, refusing to bask or swim as they typically would. A decrease in appetite or a sudden reluctance to interact can also be red flags. Essentially, any abrupt change in your turtle’s regular routine should be a cause for concern and warrants a closer examination of their shell.
Visual Aids Can Help
If you’re unsure about the symptoms, comparing your turtle’s shell to online images of confirmed shell rot cases can be helpful. There are many online forums, vet sites, and reptile care resources that provide photographs of varying shell rot stages. However, always remember that each turtle is unique, and what’s normal for one might not be for another. So, if in doubt, it’s best to consult with a vet.
Causes of Shell Rot
The Role of Water Quality
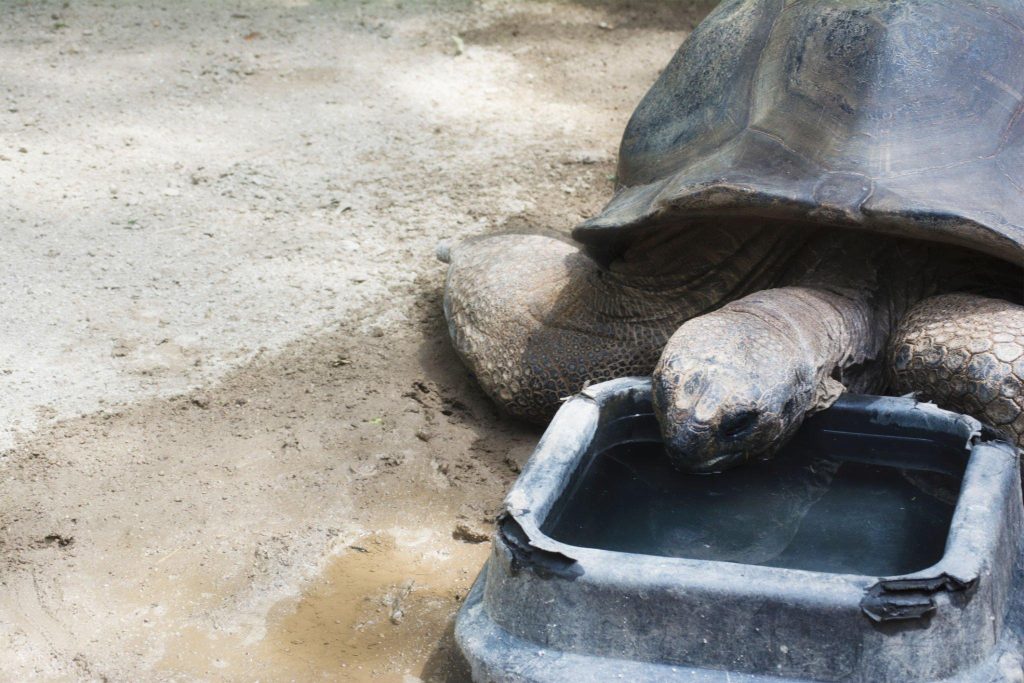
One of the primary culprits behind shell rot is poor water quality. Turtles, especially aquatic species, spend a significant amount of time submerged. When their living environment is contaminated with waste, leftover food, or harmful bacteria, it sets the stage for infections. Consistently clean water isn’t just aesthetically pleasing—it’s crucial for your turtle’s health.
Injuries Leading to Infections
Sometimes, minor shell injuries from rough surfaces or aggressive tank mates can become gateways for bacteria and fungi. A small scratch or chip might seem harmless, but in a compromised environment, it can escalate to full-blown shell rot. It underscores the importance of a safe habitat and regular shell inspections.
Dietary and Lighting Lapses
A turtle’s diet and exposure to UVB lighting play vital roles in its overall health and the strength of its shell. A lack of essential nutrients, particularly calcium and vitamin D3, weakens the shell, making it more susceptible to infections. Similarly, without adequate UVB exposure, turtles can’t process certain nutrients effectively, further diminishing shell resilience.
Other Environmental Stressors
Stress can compromise a turtle’s immune system, making it more vulnerable to diseases, including shell rot. Factors like sudden temperature fluctuations, overcrowded tanks, or unsuitable habitats can all be stress inducers. Ensuring your turtle’s environment is as natural and comfortable as possible goes a long way in warding off shell-related ailments.
The Dangers of Ignoring Shell Rot
Progression to Severe Infections
While the initial signs of shell rot might seem minor—a small discolored spot or a slight softening of the shell—neglecting these early warnings can be catastrophic. As the infection progresses, bacteria and fungi delve deeper into the shell, potentially reaching the turtle’s bone structure or internal organs. This can lead to systemic infections that are not only painful for the turtle but also significantly harder to treat.
Risk to Other Aquatic Life
If you house multiple turtles or other aquatic creatures in the same environment, an untreated shell rot case can put them all at risk. The pathogens causing the rot can spread, potentially leading to an outbreak affecting all inhabitants. Maintaining a healthy environment is not just about the individual; it’s about the collective well-being of all pets in the habitat.
Long-Term Health Repercussions
Ignoring shell rot doesn’t just pose an immediate threat; it can have lasting consequences. Chronic infections can stunt growth, decrease lifespan, and even lead to permanent deformities in the turtle’s shell. Remember, the shell isn’t just an external shield; it’s an integral part of the turtle’s skeletal system. Protecting and preserving its integrity is paramount for the turtle’s overall health and longevity.
Home Treatment for Shell Rot
1. Quarantine – Safety First
Before starting any treatment, it’s essential to isolate the affected turtle. If you have multiple turtles or other aquatic creatures, separating the sick one prevents the spread of the disease. Ensure the quarantine area is clean, safe, and well-lit, offering your turtle a stress-free environment to heal.
2. Dry Docking – The Healing Process
Dry docking involves keeping your turtle out of water for extended periods, allowing the shell to dry thoroughly. This procedure halts the progression of bacteria and fungi, as they thrive in moist conditions. While dry docked, ensure your turtle has a warm area to bask and provide short, supervised water breaks for hydration and defecation.
3. Cleaning the Shell – Gentle Yet Effective
With a soft toothbrush and some diluted antiseptic solution (like betadine), gently scrub the affected areas of the shell. This process removes dead tissue and exposes the pathogens to the antiseptic. After cleaning, rinse the shell with clean water and dry it thoroughly before returning the turtle to its dry dock.
4. Topical Treatments – Targeting the Culprits
After cleaning, you can apply topical treatments to the affected areas. Silver sulfadiazine cream is a popular choice among turtle enthusiasts for its antibacterial and antifungal properties. Alternatively, natural options like raw honey have been praised for their healing capabilities. However, always consult a vet before applying any product to ensure it’s safe and suitable for your turtle.
5. Boosting Turtle Health – From Within
While external treatments tackle the symptoms, bolstering your turtle’s overall health can speed up recovery. Ensure a balanced diet rich in essential nutrients, and make certain your turtle gets ample UVB exposure. Healthy turtles have a robust immune system, equipping them better to combat and recover from infections.
Prevention is Better Than Cure
1. Prioritize Clean Water
Maintaining pristine water conditions is the cornerstone of turtle health. Regularly change the water, invest in a good-quality filter, and monitor water parameters. Clean water not only keeps pathogens at bay but also ensures your turtle’s skin and shell remain in top condition.
2. Diet and Nutrition
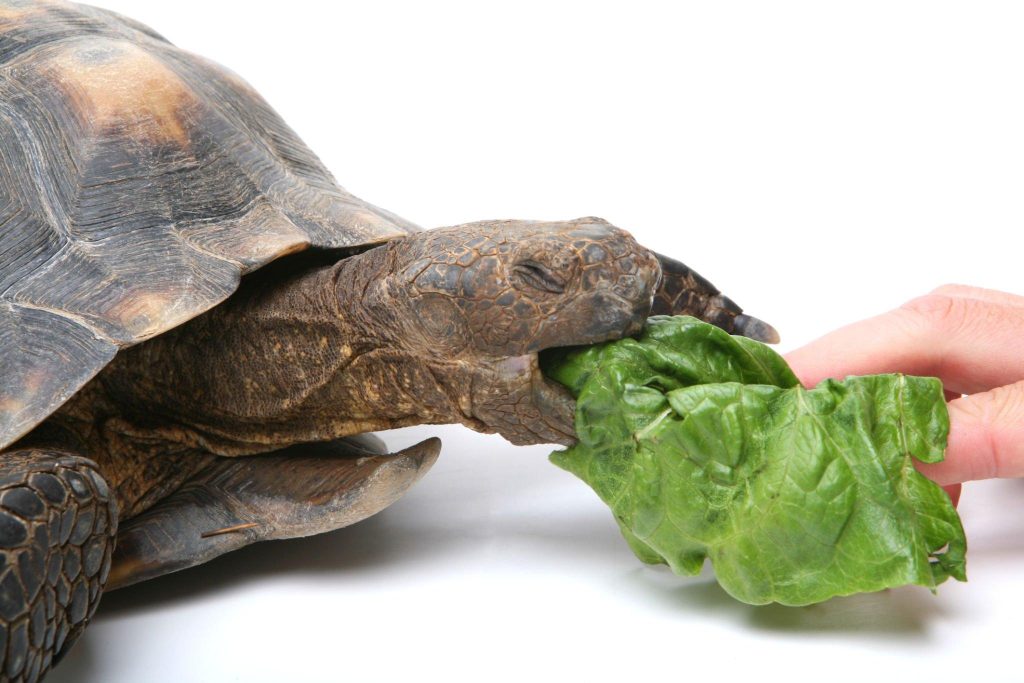
A balanced diet is crucial. Just as we need a variety of nutrients, so do turtles. Ensure they receive the right mix of proteins, vitamins, and minerals. Especially vital is calcium, which strengthens the shell, and vitamin D3, which aids calcium absorption. Foods like leafy greens, high-quality pellets, and occasional protein treats can make a world of difference.
3. Proper UVB Exposure
Turtles need UVB light to process certain vital nutrients, especially vitamin D3. Ensure your turtle has access to UVB lighting, mimicking natural sunlight. This not only boosts their mood but also fortifies their shell against potential infections.
4. Safe Habitat and Handling
Protect your turtle from injuries. Ensure their habitat lacks sharp edges or objects that could harm their shell. When handling them, be gentle, ensuring you don’t cause any scratches or chips that could become infection hotspots.
5. Regular Shell Checks

Make it a routine to inspect your turtle’s shell for any abnormalities. Early detection is crucial. If you notice any discoloration, soft spots, or other anomalies, it’s easier to address them before they escalate into full-blown shell rot.
When to Consult a Vet
1. Beyond Surface Symptoms
While initial signs of shell rot can often be addressed at home, if the condition appears to penetrate deeper than the shell’s surface or if there are signs of swelling, oozing, or foul odor, it’s time to consult a professional. These can indicate advanced infections that require more intensive treatments.
2. Unresponsive to Home Treatment
If you’ve been diligent with home treatments but notice no improvement after a week or two—or if the condition worsens—it’s a clear signal to seek expert advice. Sometimes, what appears as shell rot might be a symptom of an underlying issue that needs a vet’s diagnosis.
3. Behavioral Concerns
If your turtle shows signs of distress, like prolonged lethargy, refusal to eat, or unusual behavior, it may be experiencing pain or discomfort beyond what’s visible on its shell. Such behavioral changes warrant an immediate vet consultation to ensure there aren’t deeper health issues at play.
4. Regular Health Checks
Even outside of immediate concerns, scheduling regular check-ups with a reptile veterinarian can be invaluable. These professionals can provide insights into your turtle’s overall health, catch potential problems early, and offer guidance on care and nutrition tailored to your specific turtle species.
Frequently Asked Questions (FAQs)
What does the early stage of shell rot look like?
In its early phase, shell rot often appears as slight discoloration on the turtle’s shell, ranging from white, gray, to reddish patches. The shell may also begin to feel softer than usual at the affected spots. Catching and treating shell rot at this initial stage can prevent more severe complications down the line.
Can turtles fully recover from shell rot?
Yes, with timely and appropriate treatment, most turtles can fully recover from shell rot. The key is early detection, consistent care, and if needed, professional intervention. Once healed, maintaining a clean and healthy environment further ensures the issue doesn’t recur.
How often should I clean my turtle’s habitat to prevent shell rot?
While the frequency can vary based on the size of the habitat and the number of turtles, a general rule is to conduct partial water changes weekly and deep clean the entire habitat once a month. Investing in a high-quality filter can also reduce the frequency of required cleanings.
Are there any natural remedies for shell rot?
Raw honey is a popular natural remedy due to its antibacterial properties. When applied to the affected areas, it can aid in healing. However, always ensure the shell is clean and dry before application, and consult with a vet to ensure the remedy is appropriate for your turtle’s specific condition.
How can I differentiate between natural shell shedding and shell rot?
Natural shedding is a healthy process where turtles shed scutes (individual segments of their shell) as they grow. These scutes usually come off in large, intact pieces and leave behind a healthy-looking shell. In contrast, shell rot typically involves discoloration, softening, and potential pitting of the shell. If unsure, always err on the side of caution and consult a professional.
Conclusion
Shell rot, while common in turtles and other shelled reptiles, shouldn’t be taken lightly. Early detection, coupled with proper care, can make a significant difference in ensuring the health and longevity of your beloved pet. It’s essential not just to treat the symptoms but also to cultivate a clean, nutritious, and stress-free environment. By understanding the signs, causes, and treatments for shell rot, and prioritizing preventive measures, turtle owners can ensure their pets thrive in a safe and healthy habitat.
Engaging with online resources and connecting with a community of turtle enthusiasts can offer added insights and support. But remember, when in doubt, always consult with a reptile veterinarian. Their expertise can guide specific treatments and offer peace of mind, ensuring your turtle remains a vibrant and active member of your family for years to come.